Skull Project for Artists
This is the second HOPArt Project. While drawing extinct animal skulls, man-ape skulls and other Homo human skulls that will be used in the next Evolution Project, I decided to take a detour and try out an idea for artists to explore in the classroom. I wanted to find an alternative way of drawing the skull. Also, I wanted to try something different from the Sugar Skulls of the Mexican Day of the Dead. That is not to say, I don’t support the idea of bringing back the spirits of departed loved ones in a celebration holiday and with painted skulls, I do, but, for art, I wanted to add something new along the lines of questioning the value of art in an impending age of artificial intelligence. How to compare the human brain with the computer brain and how to show the difference?
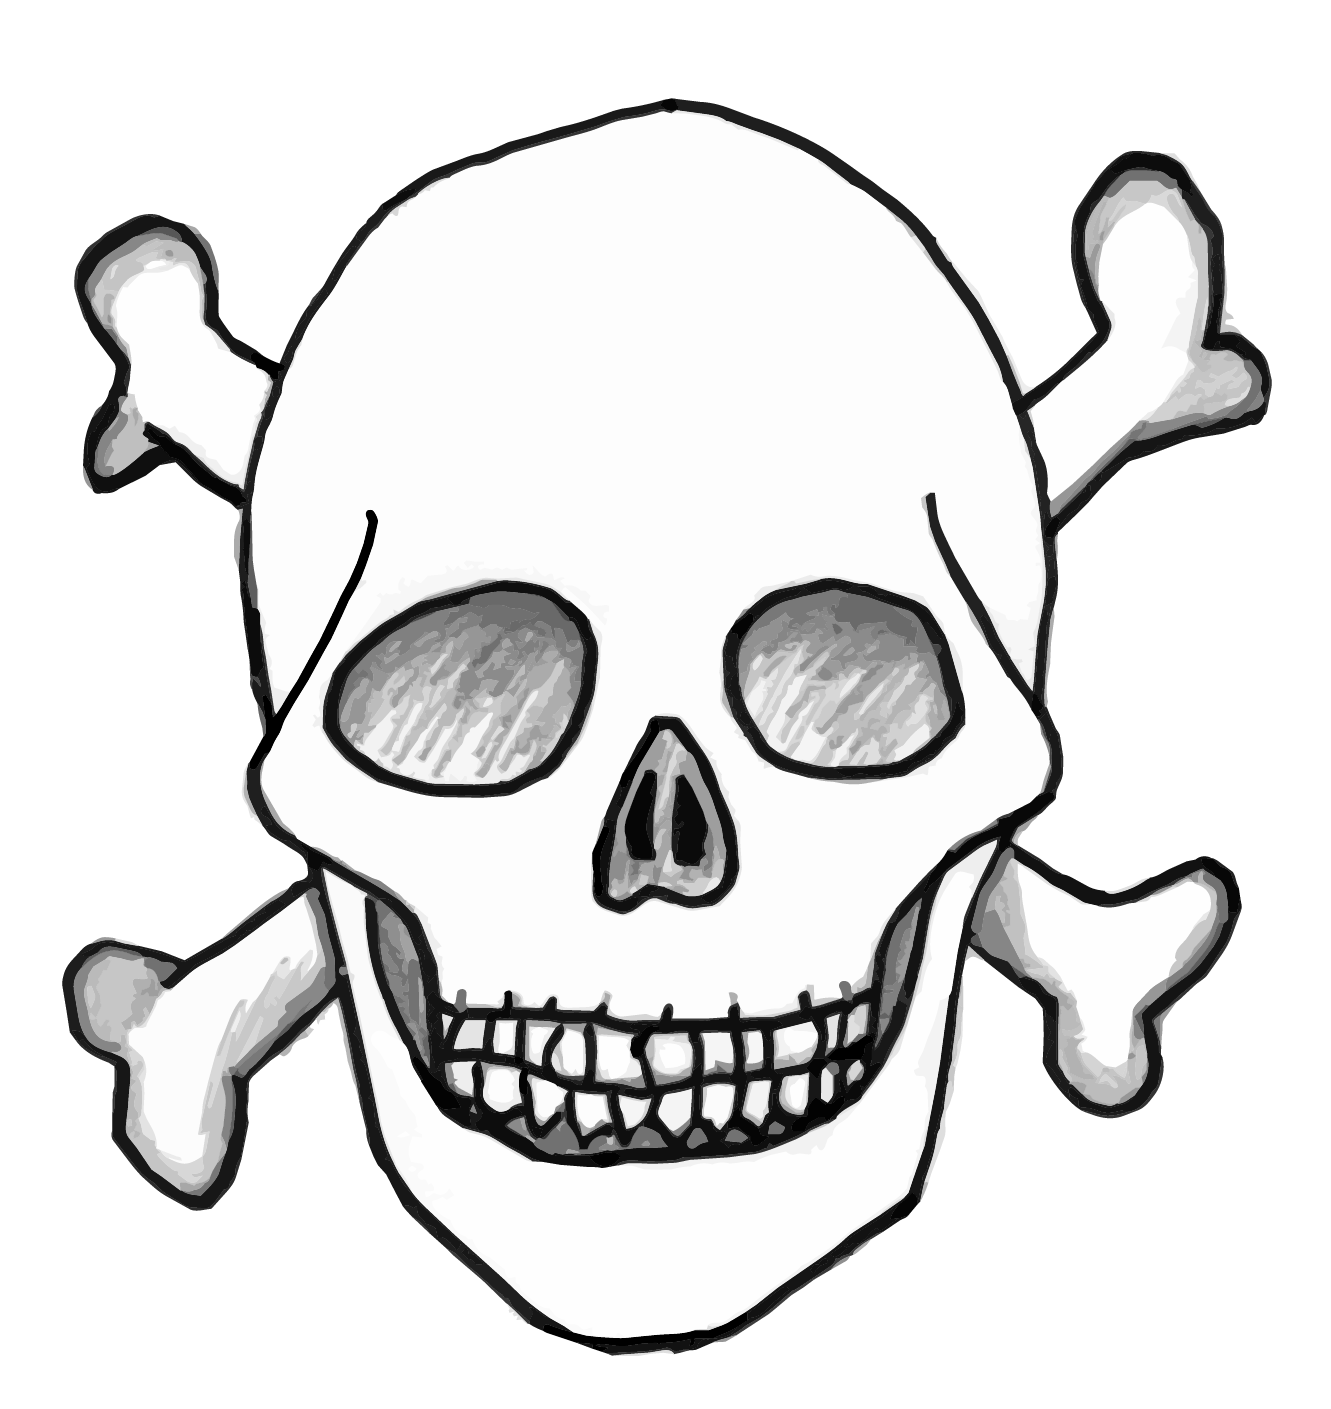
Drawing the skull and showing the skull and face of that person in one drawing is a challenge with the flat two dimensions on paper. I have worked out an easy way with templates that is faster. This method of drawing over the top of a faded template means multiple faces can be tried out quickly. Many expressions can be explored on the skull template as they are in the face icons. In the Designer Skull there are lines and shapes only. There are no decorative motifs like flowers, stars and hearts. Investigate the Sugar Skulls online to see how this is done. This is great for younger students and the front face skull template can be used.
Skull Face Composite
After the Portraits and Skull Designs, inside and outside the head is the next step. Keep the bone white to start with and use colour pencils for the skin tones and the facial features and hair. Finish with a black pen outline over the top.
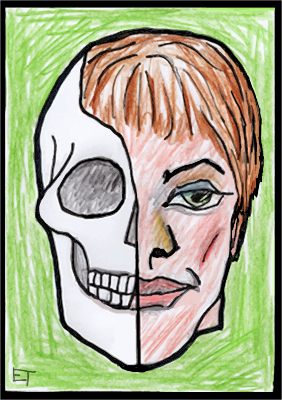
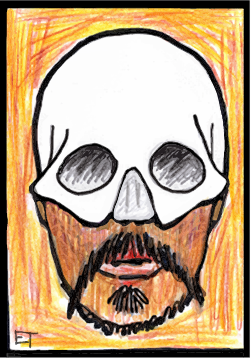
The examples show one of the activities divided by a line. The purpose is to make two sections in one picture and to make an inside and outside contrast. The examples show a cut with a vertical or horizontal line roughly through the middle. Choose where to cut.
Skull Profile Compostie
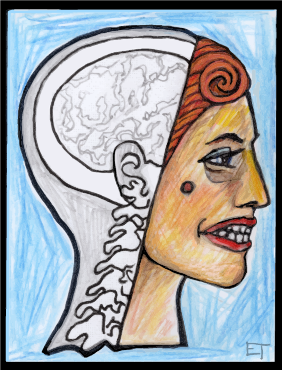
Drawing over the top in one section and keeping the skull in another section continues but, this time, with the skull profile. Examples below show cut aways to the brain and spinal cord underneath.
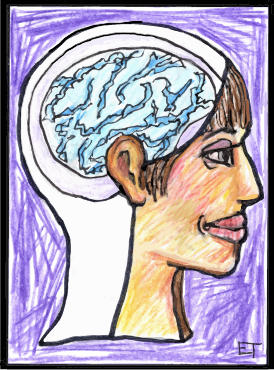
The anatomy is not accurate as the picture is not a diagram. Students may choose to improve the brain drawing or add pictures or words in the brain and therefore make a comment about what is going on inside the head. In any drawing or painting don’t always block out the white in the background. It acts to let the picture breathe and give it air or space. It is a choice the artist makes. Blocking out the white makes it dead flat.
Always be aware of what your pictures are saying to the viewer. Ask the viewer what they see to get some feedback?
Example Description: Here we can see that the brain is housed in the skull. The brain and face are in colour. The face of the person with the brain is shown. There is a cut away or dissection and it is like an Xray on half the head. The XRay is clean and there are no shadows or fractures. The brain is representative and not realistic and the ear in the centre is superimposed over the top, probably to balance the composition and add the hearing or listening sense. To me, it looks like the brain is a cap that we wear. What would the image say if there was a dark shadow in the brain?
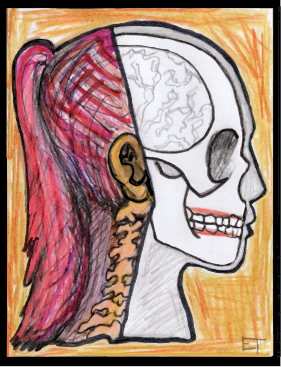
In the next Composite the cut away has moved to the other side of the head and shows the hair in colour. The Xray looks clean, there are no smudges, flaws or fractures and we can see the skull that lies beneath.
What do I see? We don’t know who this is because we can’t see the facial features and there is no expression to show how the person feels. We don’t know if the person is smiling or if the eyes are open. The only indicator of identity is the red hair in a ponytail, probably a female with no missing teeth! A detective would need more information to identify this person.
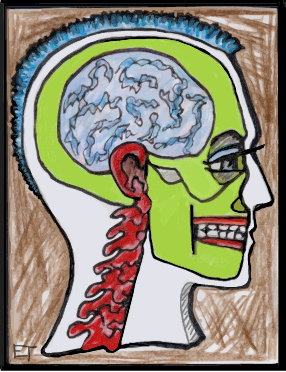
In this one I have changed the skull colour to green and made the spinal cord red. The skin exterior this time has been made white and the hair is blue in a mohawk style. The acid green stands out and could represent a mood. The red spinal cord could signal strength or blood to the hearing ear in the middle of the composition. There is an alert of some sort with the red. The skin is white and works as a background block shape. Maybe it is a white person listening to something he doesn’t agree with. He seems to have a fake smile. The green head interior is the key. Maybe he feels sick or is green with envy about something. What do you think?
Learn how to read your own pictures and learn how to say what you want to say using the visual language. The best way to read a picture is to start by describing what you see. The meaning will come. Students can practise by discussing each others skull pictures in groups or in a class discussion. Trust that you know more than you think you do.
As an artist, students can choose or not choose to make a comment with their artwork. A question can be asked, not in words, but in a picture. Choices are infinite. The artist can invite the viewer to explore a topic with their work.
Make the Skull Project your own and take it further. Enlarge your best skull drawing and paint it on canvas or a big sheet of paper. Explore possibilities and combine ideas into a group project as an extension.